Installing a TV on a gypsum board wall can be tricky—but with the right approach, it’s both safe and seamless! Recently, we completed a professional TV wall mounting project in Al Raha, Abu Dhabi, and we’re excited to share the step-by-step process (and photos!) with you.
Check out the installation photos below, including:
- The hole-cutting and reinforcement process
- Backwood support installation
- Wall touch-up with majun
- Final shot with the TV turned on and fully connected

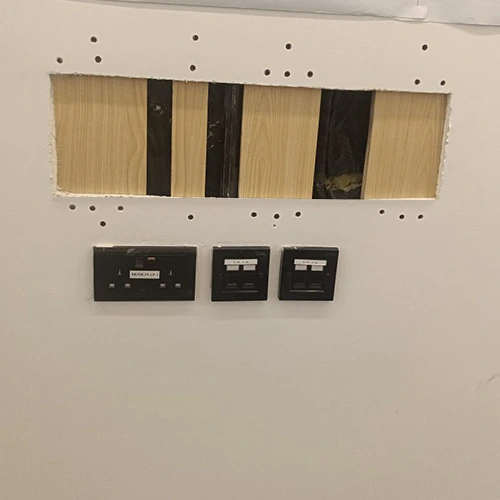


✅ Step 1: Preparing the Wall
We started by carefully cutting a small hole in the gypsum wall exactly where the TV bracket would be installed. This gave us access to reinforce the weak area behind the gypsum.
✅ Step 2: Back Support with Wooden Bars
Since gypsum alone isn’t strong enough to hold the weight of a TV, we installed small wooden support bars behind the wall. These bars were securely fastened to ensure a solid base for the wall bracket.
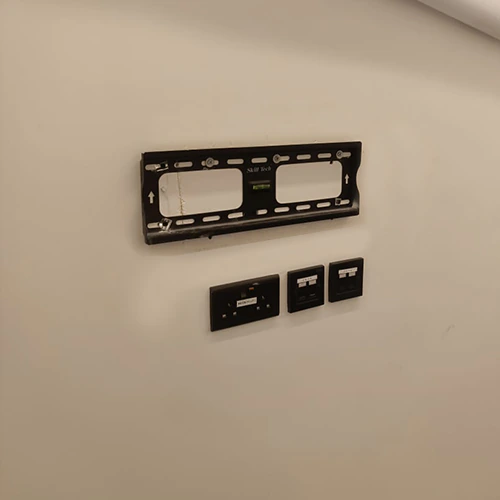
✅ Step 3: Closing and Matching the Wall
Once the back support was in place, we closed the hole and used majun (wall filler) to patch and smoothen the area. After a little sanding and touch-up, the wall looked clean and ready—just like before!
✅ Step 4: Installing the TV Bracket
We then securely mounted the bracket onto the reinforced section, making sure it was perfectly level and properly anchored.
✅ Step 5: Mounting the TV & Setup
Finally, we mounted the TV onto the bracket, and it fit perfectly. We also connected it to the network, and as you can see in the final photo, the TV was turned on, connected to Wi-Fi, and ready for Netflix, YouTube, and more!
Whether you’re in Al Raha or anywhere in Abu Dhabi, we’re here to make your wall-mounted TV look amazing and stay secure.
Comments are closed